Do you want to learn how to connect to a VPN on a Chromebook? You’ve probably heard of VPNs if you’ve ever looked into information security or how to access a website or service that isn’t available in your country. A VPN, or virtual private network, allows you to construct a secure connection between your Chromebook and a server.
Go no further if you’re unsure how to utilize a VPN on a Chromebook. We’ll show you multiple methods to do so in this post, as well as discuss multiple factors you might find useful.
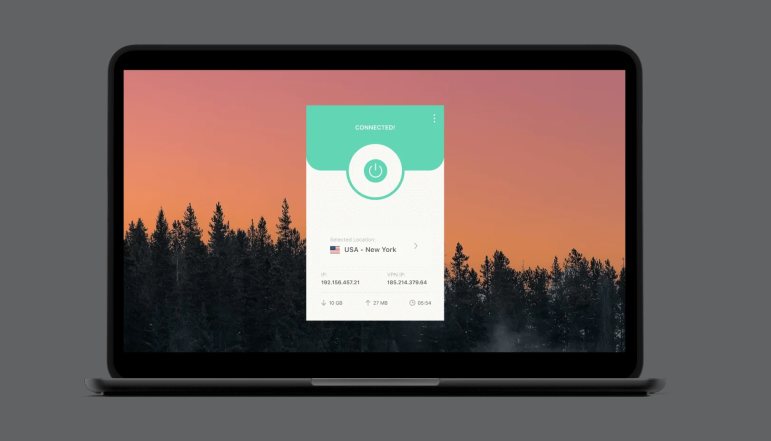
How to Use a VPN on a Chromebook
Using a VPN is a good solution if you want to protect your networks or visit websites and services that are otherwise unavailable. There are a few options, among them being to manually configure it on your Chromebook. This is your best bet if your Chromebook does not support Android applications.
There are several VPN options available online. We recommend ExpressVPN because it is reliable and simple to use.
Here’s how to configure ExpressVPN manually:
- If you haven’t already, buy ExpressVPN from this page.
- When you’ve done configuring it, go to the ExpressVPN setup page and login in.
- You will receive an email with a code that you must input on the following page.
- Choose “L2TP/IP sec.”
- A login, passwords, and a listing of server addresses from across the world will be shown. Keep this page open because you will need it later.
- In the bottom-right corner of your screen, tap the time, followed by the gear symbol.
- Tap “Add connection,” then “Add OpenVPN/L2TP…” under the “Network” menu.
- Enter the following details under the “Join VPN Network” tab:
- Use the server address from Step 5 as the server hostname.
- Server name: Give the server a good title. For example, “ExpressVPN S.”
- Choose “L2TP/IP sec + pre-shared key” as the provider type.
- 12345678 is the pre-shared key.
- Username: Enter the username you created in Step 5.
- Password: Enter the password you created in Step 5.
- Don’t enter anything here for the group name.
- Save username and password: You can select to save the settings based on your preferences.
- Choose “Connect.” When you see a key icon beside the network, it means you’ve joined successfully.
- Visit this link to find out what your IP address is.
Although this is a good alternative if your Chromebook does not allow Android apps, the company recommends that manual settings be used exclusively for anonymization and moving locations. Furthermore, many people believe that L2TP/IPsec is insufficiently secure.
How to Use VPN on Chromebook With Extension
A VPN browser extension is another option for protecting your Chromebook’s web traffic. By installing the extension, you can protect your online traffic with only a few clicks.
ExpressVPN provides browser extensions for Windows, Mac, and Linux. There are no ExpressVPN browser extensions available for Chromebooks. There are, however, additional VPN services available:
- Go to the Chrome Web Store.
- Type “VPN” into the search bar.
- Choose one and install it.
- On Chrome, the extension will display to the right of the search bar.
Conclusion
The most important benefit of using a VPN is that it keeps your network safe. We hope you liked exploring the other intriguing features in addition to learning how to utilize a VPN on a Chromebook. Use a VPN service if you want to use a safe and private network and transfer locations to enjoy the best experience possible. ExpressVPN is our top choice.
Have you ever utilized a virtual private network (VPN)? What are your best features? Please share your thoughts in the comments box below.