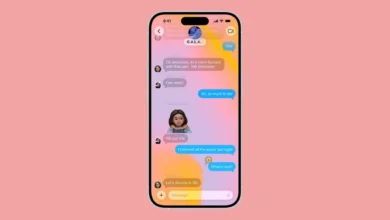
Instagram tries to make its message thread experience as engaging as possible beyond Reels. Meta has added features like Meta AI-powered image generation and the ability to edit messages on the platform. Now, Instagram has added a much-anticipated feature: message scheduling.
All you need to know about this handy new addition is right here.
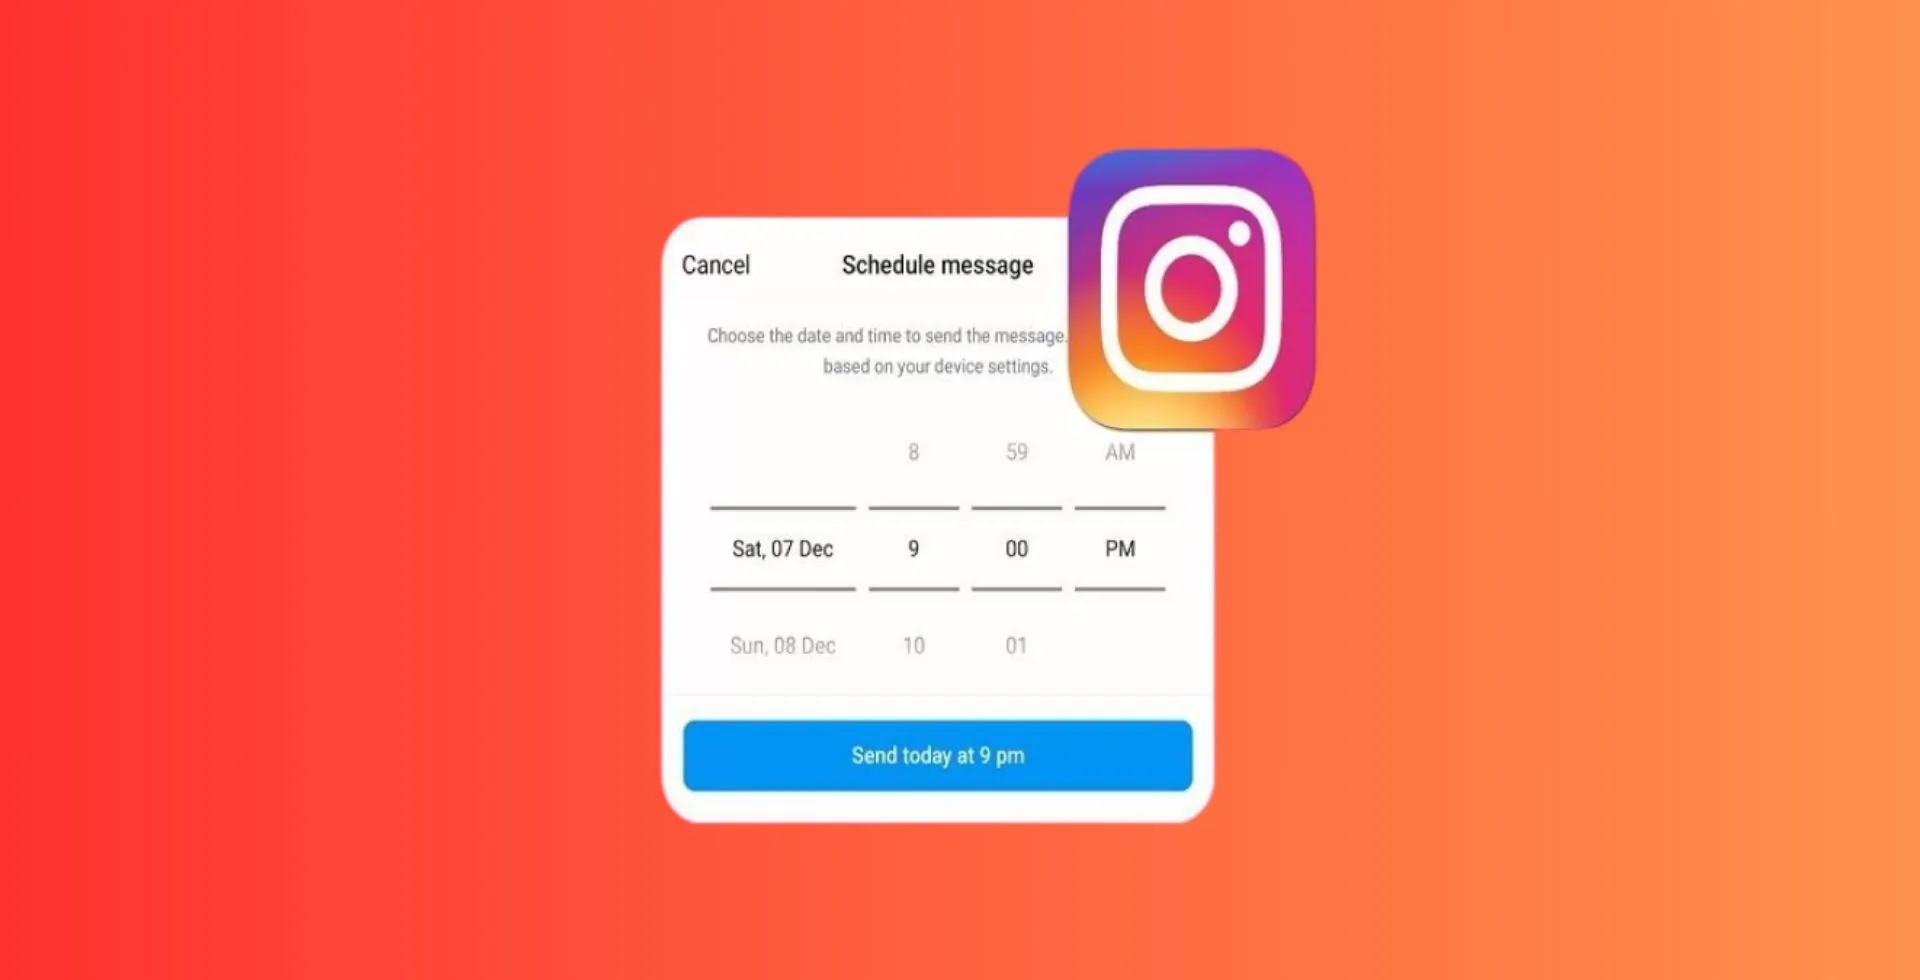
How to Use Instagram Message Schedule Feature
Sending messages on Instagram is simple and convenient, but if you want to schedule them. Follow these steps:
- Open Instagram app.
- Go to your desired chat.
- Enter your message in the text box.
- Long-press the Send button.
- On the schedule screen, select the desired date and time.
- Tap Send to confirm.
Now, your message will be sent at the time you selected.
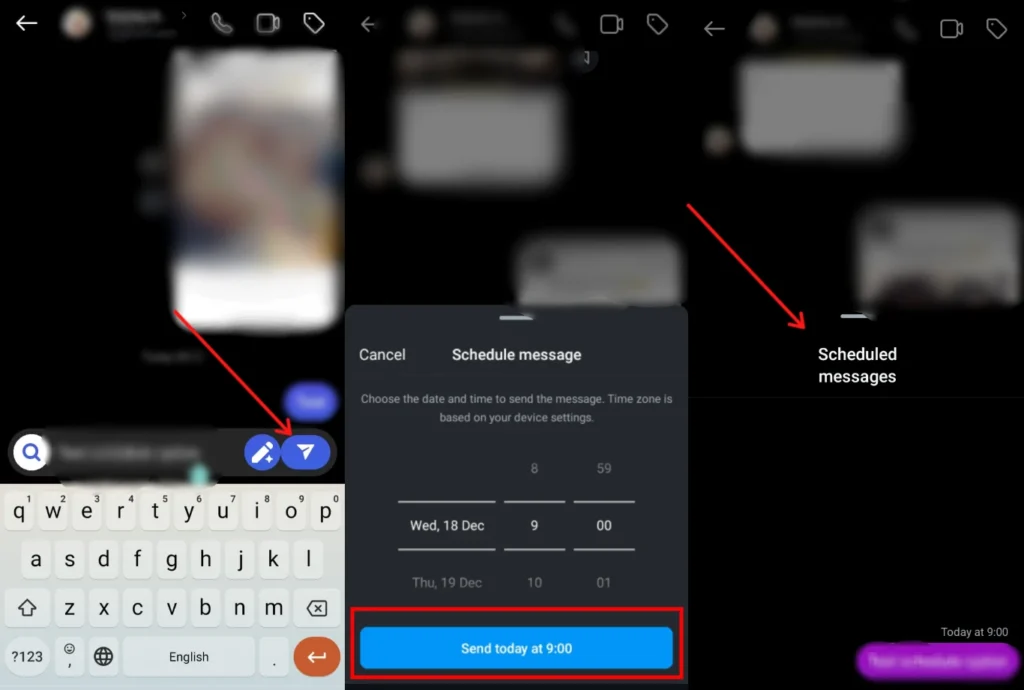
Managing Scheduled Messages
- You can view scheduled messages from the chat window.
- Before the message is sent, you can delete any message which is set to be scheduled.
- Messages can be scheduled up to 29 days.
Limits to Instagram’s Message Scheduling Feature
While the message-scheduling feature is a great addition, there are a few limitations:
- It just sends text messages.
- You can not schedule photos, Reels, posts, or GIFs.
If you do not see it, ensure your Instagram app is updated to the latest version.
The ability to schedule messages has provided convenience for upcoming messages. You will be able to send birthday wishes at midnight will make your friend feel remembered.
Do you like this new thing? Will you use Instagram’s message scheduling feature? Let us know in the comments.


![how to make your tiktok account private]](https://wikitechlibrary.com/wp-content/uploads/2025/09/how-to-make-your-tiktok-account-private-390x220.webp)