
Walk into almost any busy supermarket, pharmacy or wholesale outlet and you will hear the familiar beep of a scanner at the till. That small device does far more than speed up checkout. It reduces typing mistakes, keeps stock records honest and gives owners a clearer picture of what is selling and what is gathering dust on the shelves.
Yet many small business owners buy their first scanner in a hurry, pick the cheapest model on the counter and later discover it cannot read QR codes, will not talk to their point-of-sale (POS) software or breaks after a few drops on a tiled floor. This guide explains the main types of scanners, the features that matter and the practical steps that help a new device work reliably from day one.
- Why a scanner matters more than you might think
- 1D versus 2D: what kind of codes will you scan?
- Laser, linear imager or area imager?
- Laser scanners
- Linear imagers
- Area imagers
- Handheld, presentation or wireless?
- Connectivity and software compatibility
- Durability for real working conditions
- Buying tips: genuine, used and refurbished scanners
- Setting up your scanner
- Printing good barcodes and labels
- Using scanning to improve inventory
- Care and maintenance
- The bottom line
Why a scanner matters more than you might think
Manual entry is slow and error-prone. A cashier who types product codes by hand will eventually swap two digits, charge the wrong amount or record a sale against the wrong item. Over weeks and months those small errors add up to stock counts that never match the shelves. A scanner reads the code exactly as printed, in a fraction of a second, so each sale and each delivery is recorded consistently.
For growing businesses in Nairobi, Mombasa, Kisumu or smaller towns, where one person may handle sales, restocking and bookkeeping, that consistency is valuable. It also makes it easier to hand the counter to a new employee without long training sessions.
Before spending anything, it helps to list what you actually need to scan, where you will scan it and which software the scanner must work with. With that list in hand, you can compare current offers on a barcode scanner across several sellers, check which models match your requirements and avoid paying for features you will never use.
1D versus 2D: what kind of codes will you scan?
Barcodes come in two broad families, and this is the first decision to get right.
- 1D (linear) barcodes are the familiar vertical stripes found on most retail packaging. Common formats include EAN-13, UPC and Code 128. They hold a short string of numbers or characters.
- 2D barcodes store data in a grid or pattern. QR codes are the best-known example, and Data Matrix codes are often found on medicines and small electronic parts. They can hold much more information in a smaller space.
A scanner that only reads 1D codes cannot read a QR code at all. If you expect to scan QR codes on receipts, loyalty cards, delivery notes or pharmaceutical packaging, you need a 2D-capable model. Because 2D scanners also read ordinary 1D barcodes, many businesses now choose 2D simply to stay flexible.
Laser, linear imager or area imager?
The technology inside the scanner determines what it can read and how well.
Laser scanners
Laser scanners sweep a red line across a 1D barcode and measure the reflected light. They are proven and work well on clean, printed labels. However, they cannot read 2D codes and they struggle with barcodes displayed on phone screens.
Linear imagers
Linear imagers capture a single line of the barcode like a tiny camera. They handle worn or poorly printed 1D labels better than many lasers and usually have no moving parts, which can help durability. They are still limited to 1D codes.
Area imagers
Area imagers photograph the whole code, so they read both 1D and 2D barcodes in almost any orientation. Crucially, area imagers are the type that can reliably read codes shown on a smartphone screen, such as digital coupons, e-tickets or payment QR codes. If customers will ever show you a code on their phone, choose an area imager.
Handheld, presentation or wireless?
The physical form of the scanner should match how your counter or storeroom works.
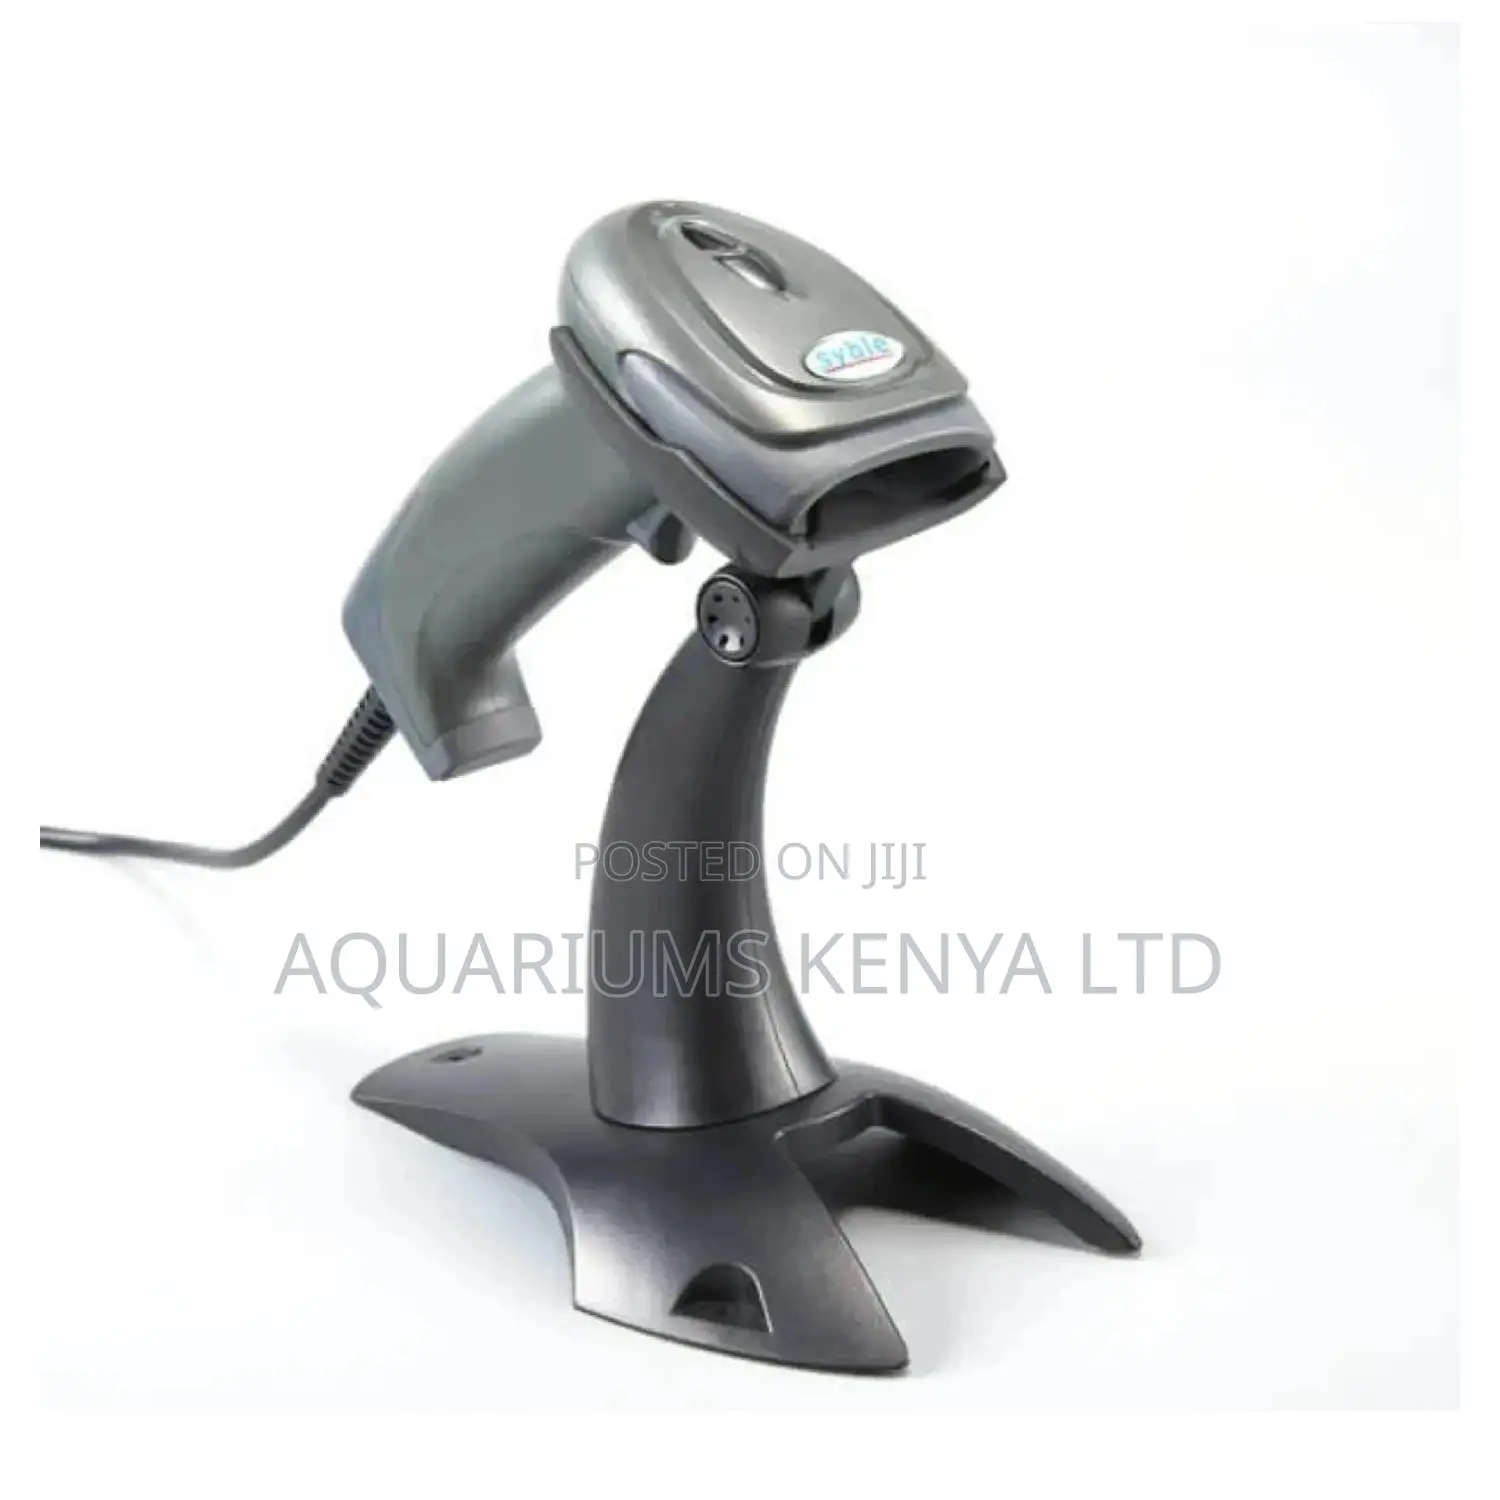
- Handheld corded scanners are the most common choice for small shops. They are simple, affordable and suit counters where products are small enough to lift or scan in place.
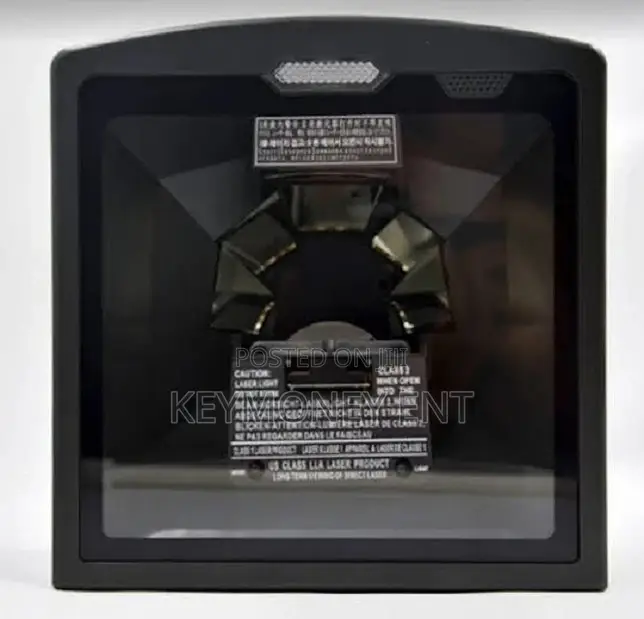
- Presentation or desktop scanners sit on the counter and read items passed in front of them. They leave the cashier’s hands free and suit high-volume tills, such as supermarkets and busy pharmacies.
- Wireless scanners connect by Bluetooth or a 2.4GHz radio dongle. They are useful when you need to scan bulky items, such as bags of cement, sacks of flour or furniture, without dragging them to the till. Check the stated range and battery life, and confirm how the scanner charges.
- Mobile computers combine a scanner with a small screen and an operating system, often Android. Warehouses and distributors use them for stock-taking, receiving deliveries and picking orders, because staff can see and update records while walking the aisles.
Connectivity and software compatibility
Most retail scanners connect via USB and use keyboard emulation, sometimes called HID mode. In this mode the computer treats the scanner like a keyboard: whatever it reads is typed into the active field, followed by an Enter keystroke. This makes basic setup almost plug-and-play, and it works with most POS systems, spreadsheets and inventory apps.
Even so, it is worth checking a few points before buying:
- Does your POS software list supported scanners, or require a particular mode such as serial or virtual COM port?
- Will you connect to a desktop, laptop, tablet or phone? Tablets and phones usually need a Bluetooth model or a suitable adapter.
- Can the scanner add or remove prefixes and suffixes, such as a Tab or Enter key, to fit your software’s workflow?
Durability for real working conditions
Scanners get dropped, knocked off counters and handled with dusty or wet hands. Manufacturers often publish a drop rating, stating the height the scanner can survive falling onto concrete, and an IP rating describing dust and water resistance. For a hardware store, market stall, warehouse or outdoor collection point, a rugged model with a higher drop and sealing rating is a sensible investment.
On corded models, a detachable cable is a practical advantage, because a damaged cable can be replaced without replacing the scanner.
Buying tips: genuine, used and refurbished scanners
Well-known scanner brands are widely copied, and low-quality units may look identical on the shelf. A few checks help you avoid disappointment:
- Test before paying. Bring a few items from your shop, a printed QR code and a phone showing a QR code. Scan them all.
- Check labels and serial numbers. Genuine units have clear printed labels. Blurry printing, misspelt brand names or missing serial numbers are warning signs.
- Ask about warranty. Find out who honours the warranty and for how long, and keep your receipt.
- For used units, inspect the scan window for scratches, check that the trigger feels firm and ask whether the battery of a wireless model has been replaced.
Setting up your scanner
Most scanners are configured by scanning special setup barcodes printed in the user manual or available from the manufacturer’s website. Common adjustments include:
- Restoring factory defaults before you start, so you know the baseline settings.
- Selecting the correct interface mode, such as USB keyboard emulation.
- Enabling or disabling particular symbologies. Turning off formats you never use can reduce misreads.
- Adding a suffix, usually Enter, so each scan completes the entry automatically.
- Pairing wireless models with their base or with your device, following the manual’s steps.
After setup, open a plain text editor and scan several products. If the codes appear correctly, the scanner will usually work in your POS software too.
Printing good barcodes and labels
If you sell loose or home-made products, you may need to print your own labels. The quality of the label matters as much as the scanner. Use a dedicated label printer where possible, keep sufficient white space, known as the quiet zone, around the code and avoid printing barcodes too small. Dark bars on a light background scan best, while glossy or crumpled labels can cause trouble.
Using scanning to improve inventory
The real payoff comes when scanning is used at every step, not just at the till. Scan goods when they arrive, when they move between the store and the shop floor, and during regular stock counts. Over time you will spot fast-moving products, identify items that are going missing and reorder with more confidence.
Care and maintenance
- Clean the scan window gently with a soft, lint-free cloth. Avoid harsh chemicals that can cloud the surface.
- Keep cables tidy and away from chair wheels and doors.
- Store wireless scanners in their cradles so they are charged before opening time.
- Protect the till area from dust and power surges, and consider a surge protector for the computer and peripherals.
The bottom line
The right barcode scanner is the one that matches your codes, your counter and your software. Choose a 2D area imager if you will scan QR codes or phone screens, a presentation model for busy tills, a wireless unit for bulky goods and a mobile computer for serious warehouse work. Check compatibility, durability and warranty before paying, test the device with your own products and look after it with simple routine care. Done well, this modest purchase can make your checkout faster and your stock records far more reliable.




A little discussion goes a long way.
Ask a question, share your experience, or help someone find an answer.
There is room for your perspective.
No discussions match this view yet.
Your voice belongs here
Keep it useful. Keep it kind.