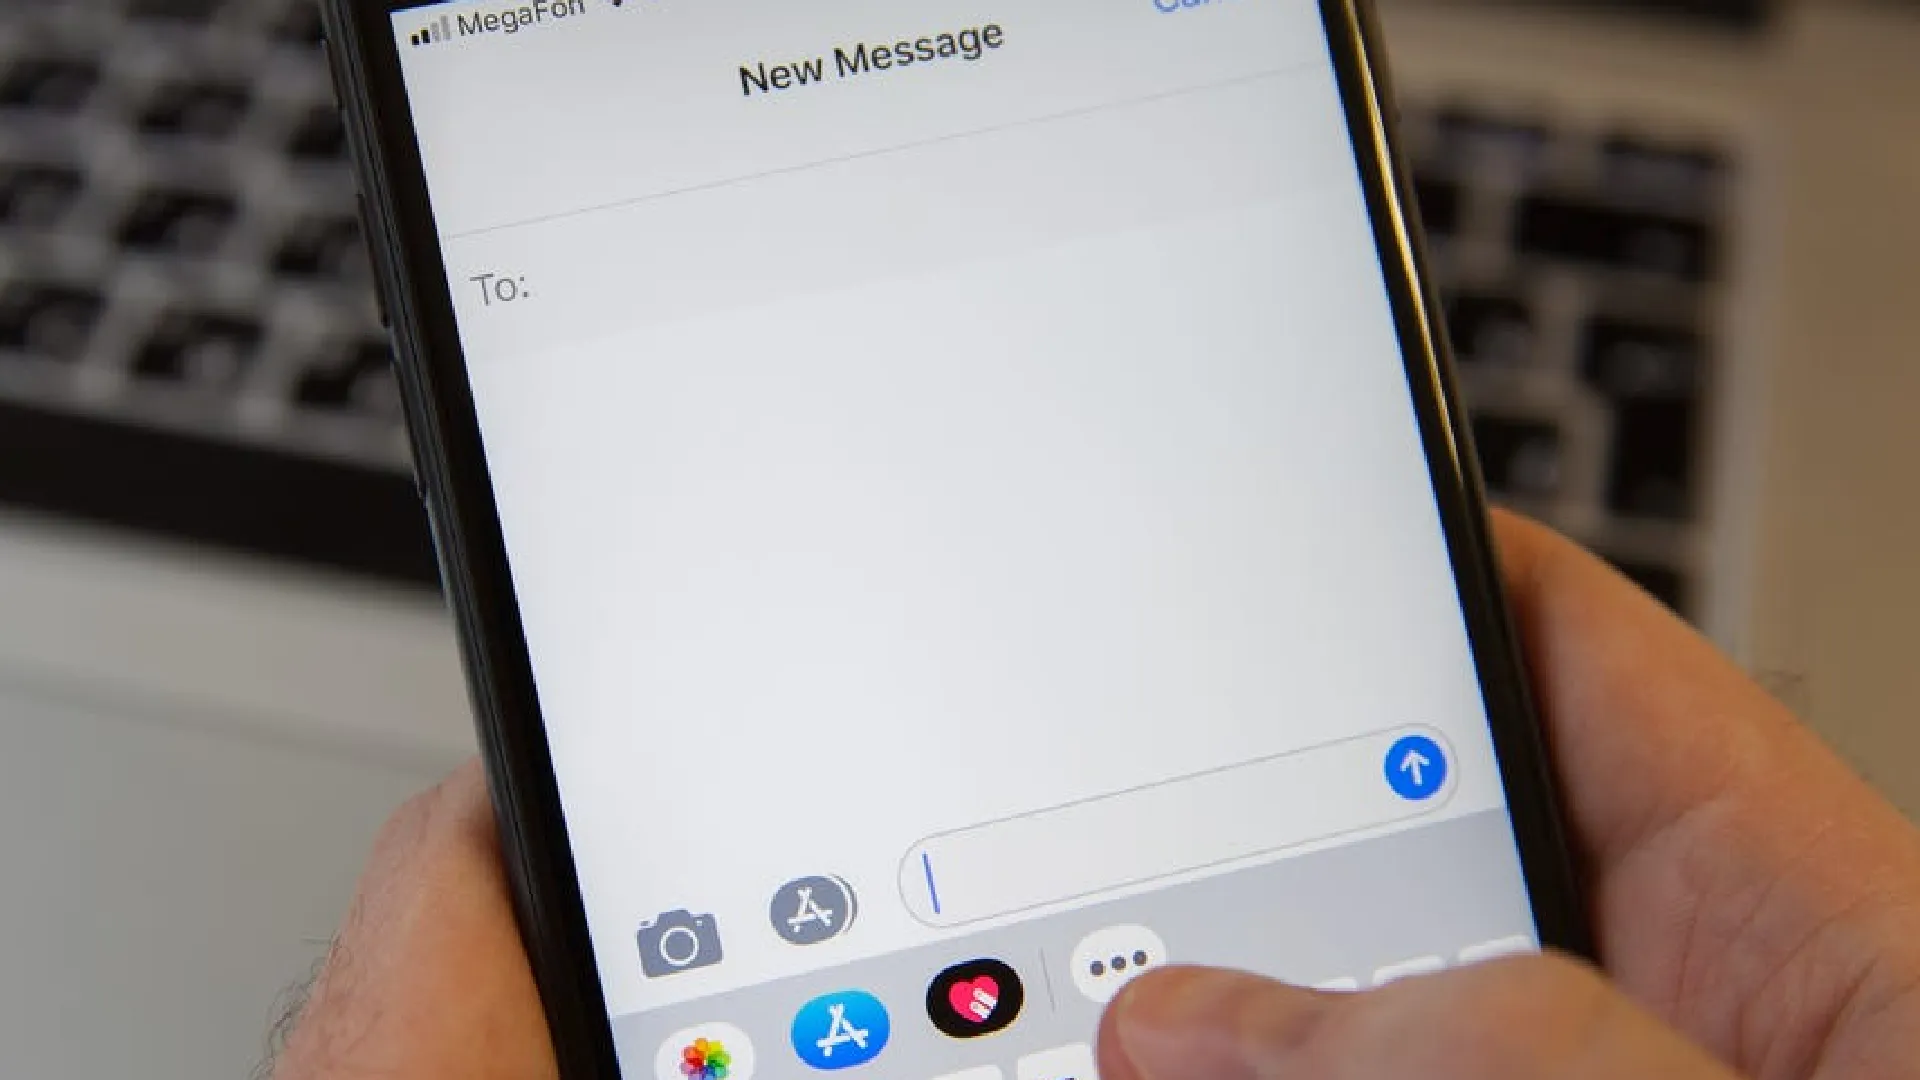
iMessage is an instant messaging service developed by Apple and built into iOS devices. It allows users to send messages, photos, videos, and more between iPhones, iPads, iPod touches, and Macs over Wi-Fi or cellular connections.
How to Delete Messages in iMessage
Delete single messages on Mac and iPhone
Deleting individual iMessages is easy on both iPhone and Mac:
On iPhone/iPad:
- Open the iMessage conversation and tap and hold the message you want to delete.
- Tap “More” from the pop-up menu.
- Tap “Delete Message” to confirm and just delete that message.
On Mac:
- Hover your cursor over the iMessage you want to delete and click the X icon that appears.
- Confirm that you want to delete the message.
And that’s it! The selected messages will be removed while preserving the rest of the conversation.
Deleting multiple texts and entire threads
You can also delete multiple messages or full conversations at once:
On iPhone/iPad:
- Open the conversation you want to delete messages from.
- Tap and hold the message, then tap “more”.
- Tap “Delete All” to delete the entire thread or tap Additional Messages to delete multiple selections.
- Confirm deletion when prompted.
On Mac:
- Click on the conversation you want to delete from the left sidebar.
- Choose Edit > Delete All to delete the full thread.
- Or Command+Click to select multiple messages then press the Delete key to remove the selected texts.
- Confirm deletion.
Recover accidentally deleted messages
If you accidentally deleted a message or conversation and want to retrieve it, there are many options:
- On a Mac, you can click Edit > Undo immediately after deleting to undo the action if caught quickly.
- On all devices, deleted iMessages are stored in Recently Deleted for up to 30 days. You can find Recently Deleted by scrolling to the very bottom of your message list – any deleted threads will appear here and can be recovered by tapping the blue arrow to the right of the conversation.
As long as you notice within 30 days, you should be able to resuscitate deleted messages through Recently Deleted. But be aware messages will be permanently removed after that grace time.
Set messages to delete automatically
If you want messages to delete themselves automatically after a set duration, you can enable this in Settings:
On iPhone/iPad:
- Go to Settings > Messages.
- Scroll down and tap “Keep Messages”.
- Choose the auto-delete duration you want (30 days, 1 year, or forever).
On Mac:
- Click Messages > Preferences in the menu bar.
- Go to the General tab and set your desired auto-delete duration under “Keep messages for”.
Messages will now automatically disappear from all synced devices after hitting the selected duration – great for keeping conversations tidy without having to manually manage deletion.
Remove messages permanently from iCloud
Even with auto-delete enabled, your iMessage history is still stored in iCloud (Apple’s cloud storage service). To remove messages forever from Apple’s servers:
- Go to Settings > [Your Name] > iCloud.
- Tap “Manage Storage”.
- Select “Messages” from the list.
- Tap “Disable & Delete” and then confirm deletion.
New messages going forward will no longer be stored by Apple. Note that any messages preserved locally on your device will remain available.


![how to make your tiktok account private]](https://wikitechlibrary.com/wp-content/uploads/2025/09/how-to-make-your-tiktok-account-private-390x220.webp)